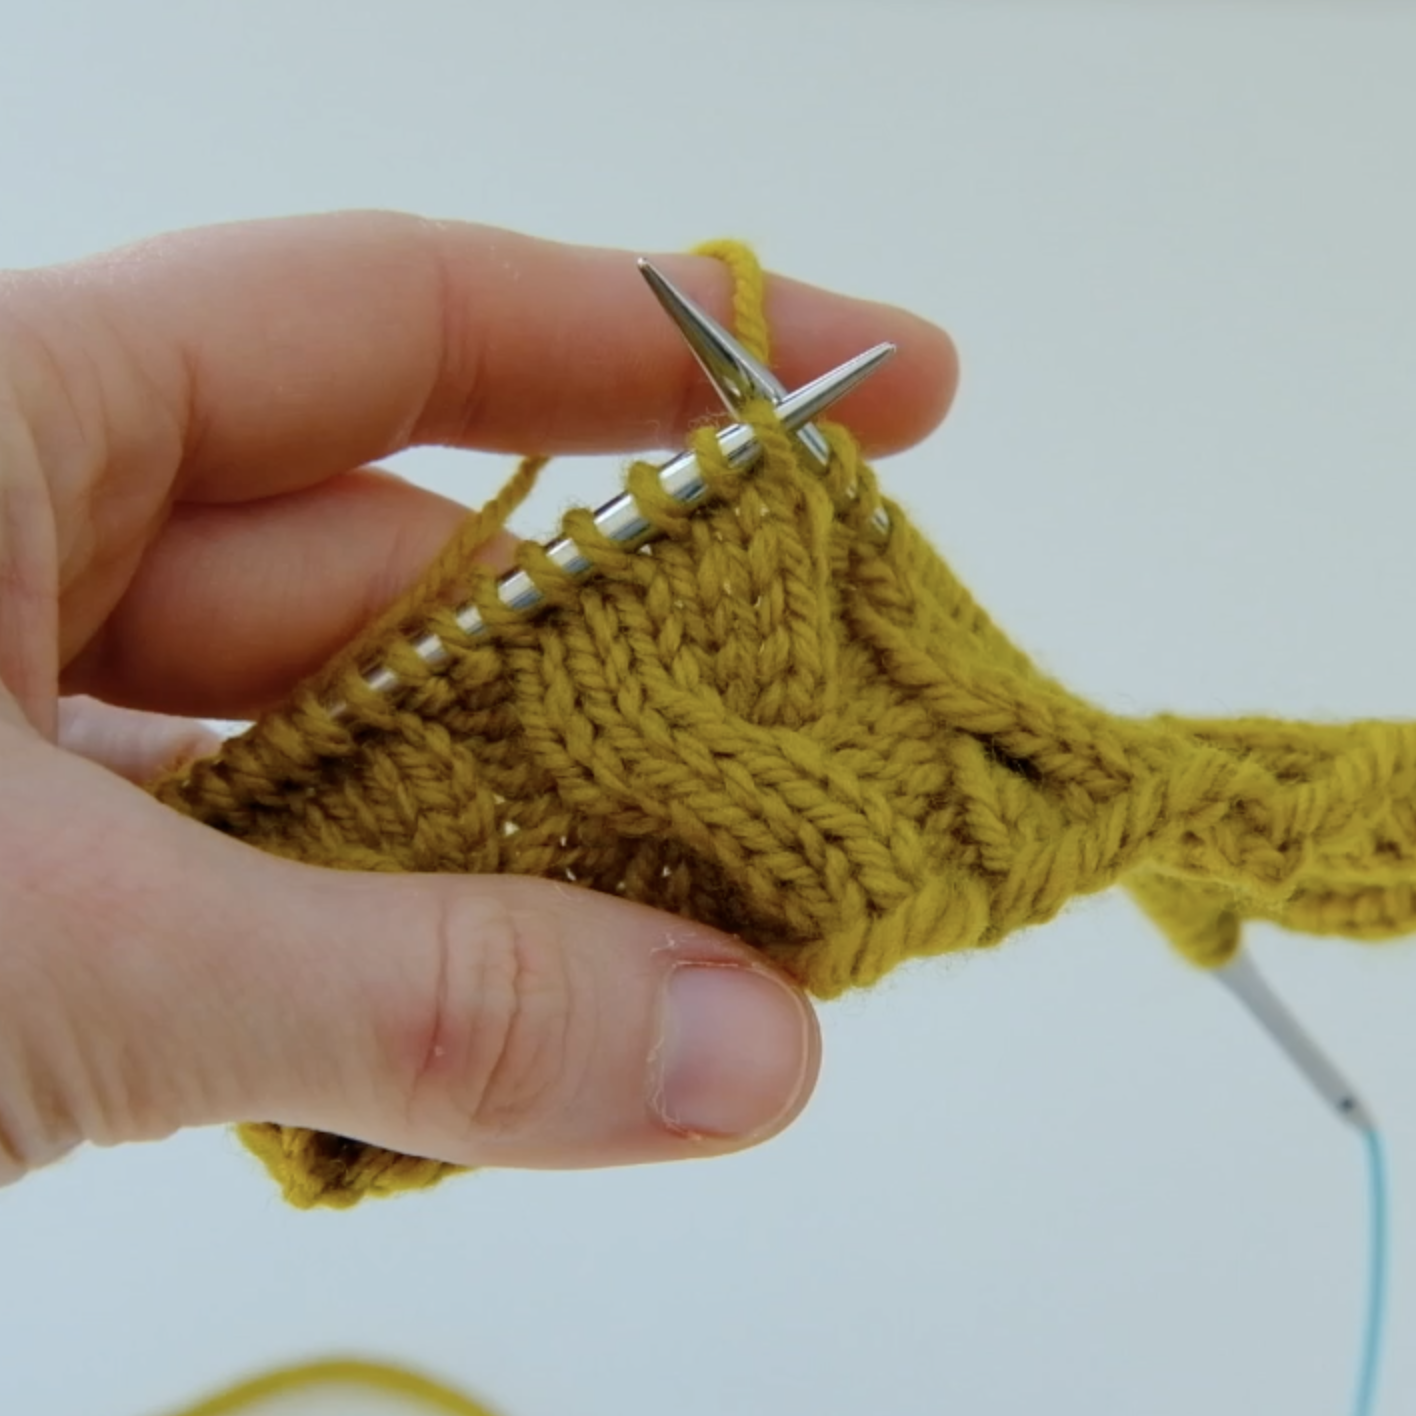
Duplicate Stitch Tutorial
My Saxe Point sock pattern has gotten a cheery little makeover for the holidays! I created a new motif for the sock pattern that fits in exactly the same dimensions as the original chart, so you can just swap them for a completely different look.
As an optional bonus, the chart includes duplicate stitch embroidery to make your socks even more lively. If you’re wondering how duplicate stitch works, here’s a video tutorial showing you how. It also includes a bit about how I make little bobbins for all the colours in the Gauge Dye Works self-striping yarn.
If you like the short, text-only version, here are some tips:
Duplicate stitch embroidery is just copying the stitches that are already in your knitting and embroidering over them. In this case it’s for decoration. I also love using duplicate stitch on the wrong side of the fabric to weave in my ends securely. I show a bit of that in the video too.
Keep it loose. If you pull too tightly, your duplicate stitches will disappear or be hard to see. They should be a bit looser than the stitches underneath to really pop.
Keep the direction of work consistent. If you’re working from right-to-left, keep it that way the whole time to avoid crossing the legs of your duplicate stitches. Crossed legs look a little funny and don’t pop as much.
Weave your embroidery yarn under the floats already there on the wrong side of the work. That way you’ll be able to keep everything a bit neater.
Weave in using a combination of duplicate stitch and weaving under the floats.
Cut your tails with about a half inch of extra yarn so that when you pull on and wash your socks, the tails won’t pop out to the right side of the fabric.


